
This article shows you where things are the first time you sign in.
New to terms such as record, form, query or Regarding? See Understand the basics: records, lists and timelines.
Note: UK details and pounds in the examples do not mean Linx is UK-only. Your workspace’s currency and regional formatting start from its selected country; Linx subscription charges remain in USD. See Currency, regional settings and examples.
Sign in
- Open your Linx address. It is specific to your business, so use the link in your welcome email.
- Enter your Email address and Password.
- Click Sign in. If you forget your password, click Forgot password?.

The layout
- Left sidebar: the menu, with the Linx logo, the Notifications bell (with a count of unread items) and your user icon at the top.
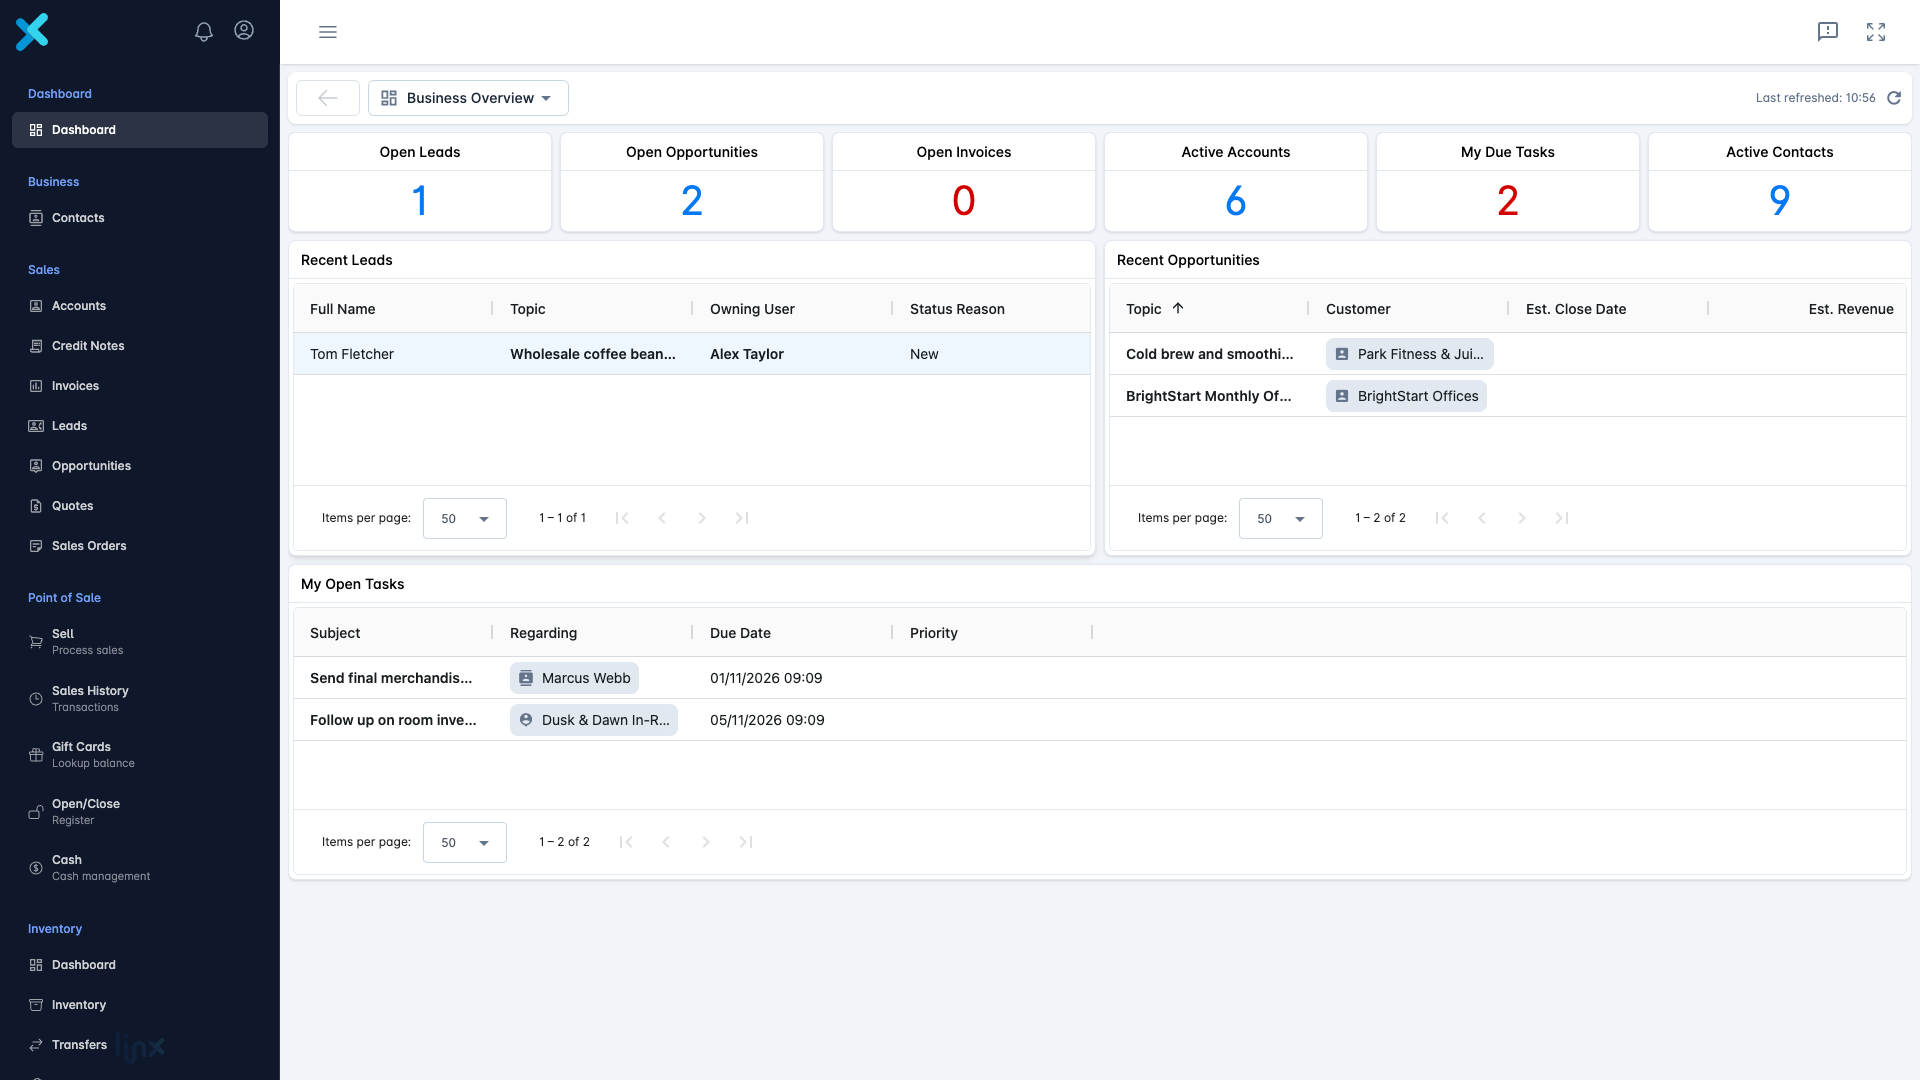
- Top bar: a button to collapse the menu, a trail of breadcrumbs, the Help & Feedback button (Ctrl+Shift+F, or Cmd+Shift+F on a Mac), and a full-screen button.
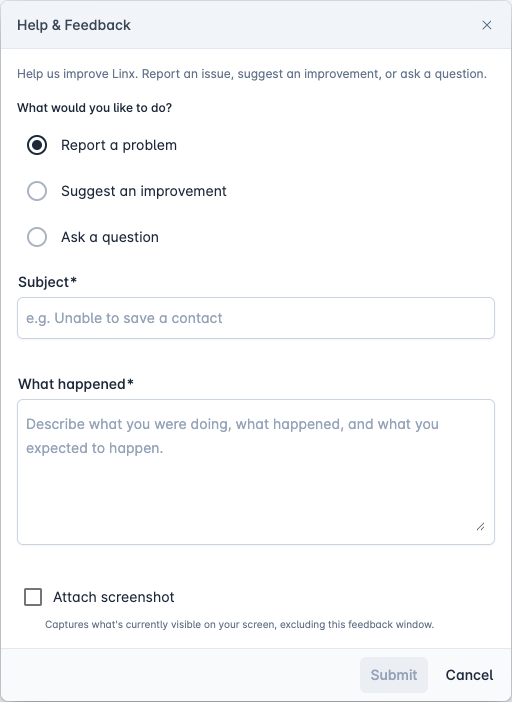
Help & Feedback lets you Report a problem, Suggest an improvement or Ask a question, with a Subject, description and an optional Attach screenshot tick box that captures what is currently visible on your screen. Linx logs your message with support and sends a copy to your email address.
Your user menu (click your icon) shows Signed in as your email, My Preferences, Lock and Sign out.
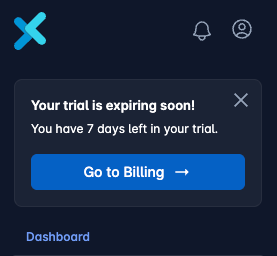
If your trial is nearly over, a banner reads Your trial is expiring soon! with a Go to Billing button. Only people who can manage billing see it.
The menu
You only see the parts of Linx your role allows, so your menu may look shorter than someone else’s.
| Menu | What is in it |
|---|---|
| Dashboard | Always shown. Your dashboards. |
| Sales | Accounts, Invoices, Leads, Opportunities, Quotes, Sales Orders and Credit Notes |
| Business | Contacts |
| Point of Sale | Sell, Open/Close, Cash, Sales History, Gift Cards. Shown if your plan includes the point of sale |
| Inventory | Dashboard, Inventory, Transfers, Count, Suppliers and Purchase Orders |
| Communication | Broadcasts (bulk email and text) |
| Reports | Inventory, Sales, Payments, Accounts, Register and Gift Cards |
| Administration | Setup: dashboards, entities, options, point of sale, products, security, preferences, billing, templates and workflows |
New workspaces also include eight ready-made document templates: quotes, invoices, sales orders, credit notes, purchase orders and three account-statement ranges. They are available whether or not you chose sample data. You can generate PDFs from saved records, or ask someone with Manage Entity Templates to customise the Word files. See Use and customise the ready-made templates. Existing workspaces are not given the new set automatically.
Find a record or a page
Find a record
Go to the list (for example Sales → Accounts), type in the Search box and press Enter. Use the Select a Query menu to switch between saved lists such as Active Accounts or My Active Accounts.
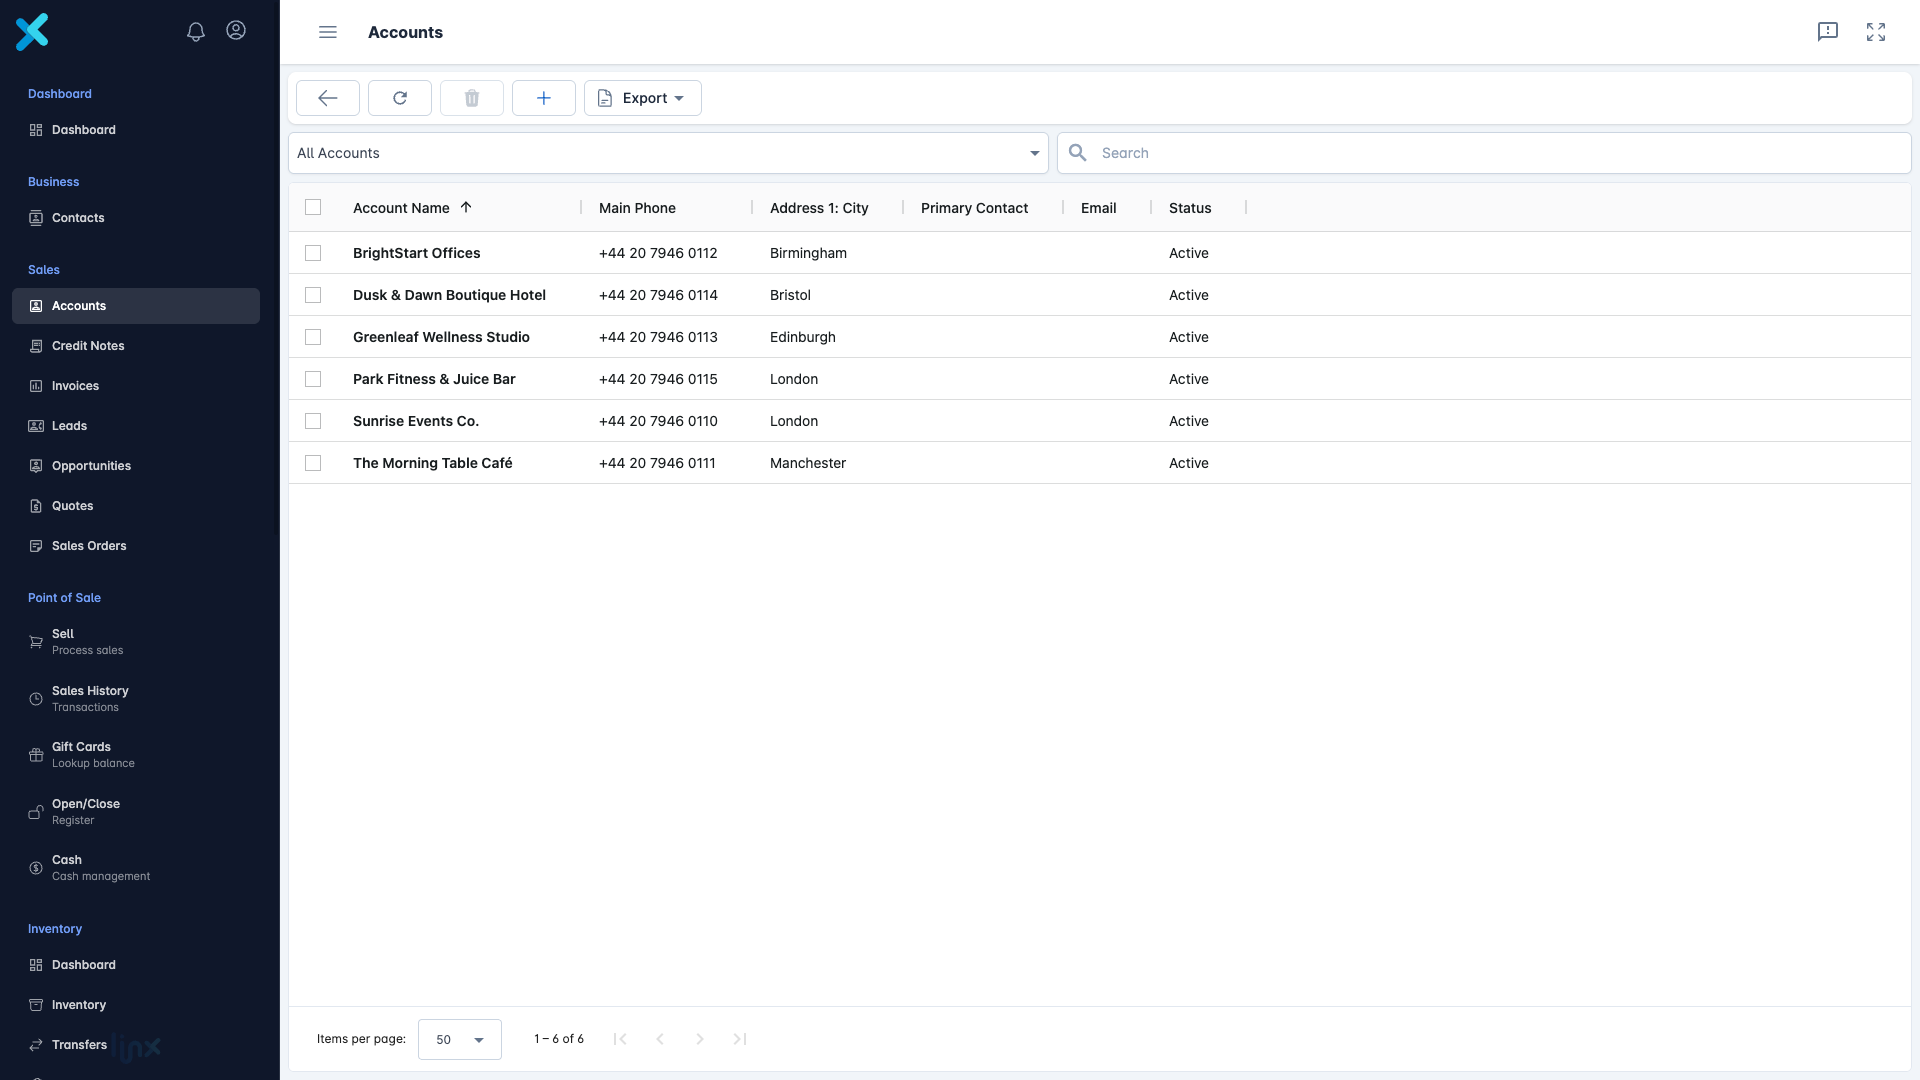
Note: There is no single search box that searches all records at once. Search from the list you want.
Find a page
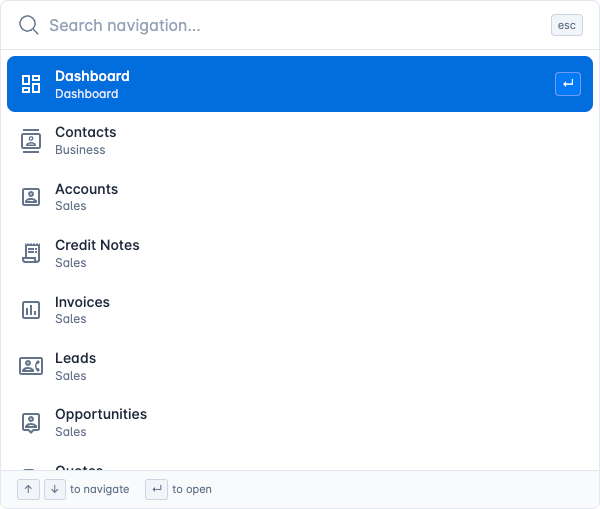
Press Ctrl+K (Cmd+K on a Mac) and type in Search navigation…. It lists menu pages, but not the Administration pages.
Dashboards
The first thing you see is the Business Overview dashboard: counters for Open Leads, Open Opportunities, Open Invoices, Active Accounts, My Due Tasks and Active Contacts, with tables of recent leads, opportunities and your open tasks. Other ready-made dashboards include Sales Pipeline, Activity Board, Sales & Tender Performance and Stock Health. Use the dashboard menu at the top of the page to switch [VERIFY IN APP] the exact label of that menu, and click the refresh icon to update the numbers. Last refreshed shows when the data was loaded.
Lock your session
When you step away, click your user icon and choose Lock, or press Ctrl+L (Cmd+L). The Session locked screen asks for your password to Unlock. If you have set a PIN, you can unlock with that instead.
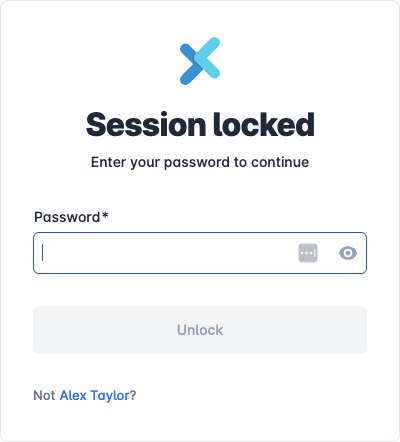
Administrators can switch on automatic locking under Administration → Preferences → Settings → Security, where Enable automatic locking and Default Auto Lock Timeout (minutes) (1 to 60) are set. Before locking, Linx asks Are you still there?. Each person can change this in My Preferences → Security.
My Preferences
Open My Preferences from your user menu. It has the tabs General, Mail, Signature and Security, where you set up how you send email, your email signature and your lock settings.
What you can see depends on your role
Linx comes with ready-made roles. Someone with Manage Security Roles can edit the non-system roles or create more; the Tenant Owner role is protected.
The first user receives Tenant Owner automatically. Give other people System Administrator for setup and access administration, and the business roles their jobs need. An owner does not need every business role as well.
| Role | Typical access |
|---|---|
| Tenant Owner | Full tenant access; protected role assigned to the first user |
| System Administrator | Application settings, users, business units, roles, customisation and POS configuration; no default customer records, sales, payments, inventory, reports, billing, account-wide export or purging |
| Sales Representative | Create and update accounts, contacts, leads, opportunities and sales orders for their own records; invoices read-only |
| Sales Manager | Their team’s records, sales and account reports, workflows, templates and broadcasts |
| Sales Administrator | Turns orders into invoices, records payments and issues credit notes, for their own business unit |
| Office Administrator | Read all users and business units, edit users within their own unit, preferences, templates, workflows and broadcasts; no customer records |
| Reporting Analyst | Read-only access plus reports |
| Inventory Manager | Inventory and purchasing |
| POS Cashier | Selling, opening and closing registers, gift cards |
| POS Supervisor | Selling, registers, layouts, unit transactions and the register report; unlike POS Cashier, no Issue Gift Cards permission by default |